XACS Cloud Computing Documentation
Terminal
The XACS terminal provide a Linux terminal in the browser, just like most ssh client such as Xshell and PuTTY. XACS users could manipulate the input files and submit XACS jobs with Linux command line directly on the HPC cluster of XACS cloud computing.

In order to help users submit computing jobs conveniently and quickly, we provide the xacs command line tool.
The xacs tool
The xacs command provide the users a convenient tool to submit XACS jobs, check job status, etc. At present, the xacs command has two sub commands:
[xacs0062@XACS script]$ xacs

Usage: xacs <command> <args>

Command:
    submit 		 submit XACS jobs
    check 		 check the status of XACS jobs
job submitting
XACS jobs could be submitted with the xacs submit command. For example, after preparing the input file h2.xmifor an XMVB job, submit a job with the following command:
[xacs0062@XACS xmvb]$ xacs submit h2.xmi

===================================================================================
input file:  h2.xmi
submitting xacs job with command: sbatch -J h2 -c 16 /share/xacs_scripts/xacs.sh h2.xmi
Submitted batch job 8753
===================================================================================
From the output of the command, we know the job has been submitted, and the job ID is 8753.
If you have multiple input files, you could submit them together with just command:
[xacs0062@XACS xmvb]$ xacs submit h2.xmi f2.xmi

===================================================================================
input file:  h2.xmi
submitting xacs job with command: sbatch -J h2 -c 16 /share/xacs_scripts/xacs.sh h2.xmi
Submitted batch job 8754
===================================================================================


===================================================================================
input file:  f2.xmi
submitting xacs job with command: sbatch -J f2 -c 16 /share/xacs_scripts/xacs.sh f2.xmi
Submitted batch job 8755
===================================================================================
In fact, the xacs submit command will submit jobs with sbatch, the job submitting command in the slurm job scheduling system, and 16 CPU cores are allocated for every job. You can also submit jobs directly with sbatch, with the advantage of determining the parameters yourself. For more details of the slurm job scheduling system, please refer to the following sections of this document.
job status checking
After submitting the job, you could check the job status with xacs check command, with the job ID:
[xacs0062@XACS script]$ xacs check 8754

job name: 		 h2
partition: 		 6226r
nodelist: 		 w011
state: 			 COMPLETED
working directory: 	 /job_dirs/6226r/w011/h2_8754
The most informative line in the output should be the working directory. You can check the output of the job when the job is running in the working directory. When the job is completed, the results will be copied back to the directory where the job is submitted, and the working directory will be deleted.
The slurm job scheduling system
slurm is an open source, fault-tolerant, and highly scalable cluster management and job scheduling system for large and small Linux clusters. The basic usage of slurm is as follows.
check node status
Slurm provides the sinfo command to view node and partition information in the cluster. Among them, node (node) is an alias of the computing server, and partition is a collection of a group of nodes divided artificially (usually according to the hardware of the nodes).
The sinfo command will list the basic info the cluster by partition. for example:
[xacs0062@XACS script]$ sinfo
PARTITION AVAIL  TIMELIMIT  NODES  STATE NODELIST
6226r*       up   infinite      3  alloc w[009-010,020]
6226r*       up   infinite      9   idle w[011-019]
pc           up   infinite      1  alloc pc003
pc           up   infinite      3   idle pc[001-002,004]
job submitting
You could submit jobs with the sbatch command:
[xacs0062@XACS xmvb]$ sbatch -J h2  /share/xacs_scripts/xacs.sh h2.xmi
Submitted batch job 8761
In the above example, we use the -J option to specify the name of the job. Other commonly used options are:
-c:Specifies the number of CPU cores used by each node--mem: Specify the amount of memory used by each node-J: specify the job name-p: Specify the partition name-w: Specify node name-N: Specifies the number of nodes used by the job (used when cross-node parallelism)
After the job is submitted, you can use the squeue command to check the job status:
[xacs0062@XACS xmvb]$ squeue
             JOBID PARTITION     NAME     USER ST       TIME  NODES NODELIST(REASON)
              8761        pc       h2  xunchen  R       0:02      1 pc001
job canceling
Use scancel to cancel a job that has been submitted. For example, submit a job first:
[xacs0062@XACS xmvb]$ sbatch test.sh
Submitted batch job 200
[xacs0062@XACS xmvb]$ squeue
             JOBID PARTITION     NAME     USER ST       TIME  NODES NODELIST(REASON)
               200        pc     test  xunchen  R       0:02      1 pc001
As you can see, the job is running. Then we cancel the job with the scancel command:
[xacs0062@XACS xmvb]$ scancel 200
[xacs0062@XACS xmvb]$ squeue
             JOBID PARTITION     NAME     USER ST       TIME  NODES NODELIST(REASON)
check the job history
Use sacct to view information about completed jobs:
[xacs0062@XACS xmvb]$ sacct
JobID                          JobName      User  Partition        NodeList  AllocCPUS     ReqMem            State               Start    Elapsed              WorkDir        QOS
------------ ------------------------- --------- ---------- --------------- ---------- ---------- ---------------- ------------------- ---------- -------------------- ----------
8747                                h2  xacs0062      6226r            w011         16        60G        COMPLETED 2023-06-14T14:16:43   00:00:00 /export/home/xacs00+       xacs
8747.batch                       batch                                 w011         16                   COMPLETED 2023-06-14T14:16:43   00:00:00
8747.extern                     extern                                 w011         16                   COMPLETED 2023-06-14T14:16:43   00:00:00
File Manager
The file manager provide the users a convenient way to manipulate the files on the HPC cluster. You could edit input files, view the output files, or delete files which are no longer used. The basic usage of the file manager is just like windows explorer, no need to go into details here. One thing that need to emphasize is you could submit XACS jobs in the file manager.
Job submitting
You could submit XACS jobs directly in the file manager. For the XACS input files, such as .inp and .xmi file, one more action named “submit” will appear in the action menu. You could submit job with this input file by clicking “submit”.

Once the job is submitted, you could check the job in the Job Manager.
Other file actions
File/directory download
Files and directory could be downloaded by clicking the “download” button. Directories will be compressed as a zip file before downloaded.
Picture viewing
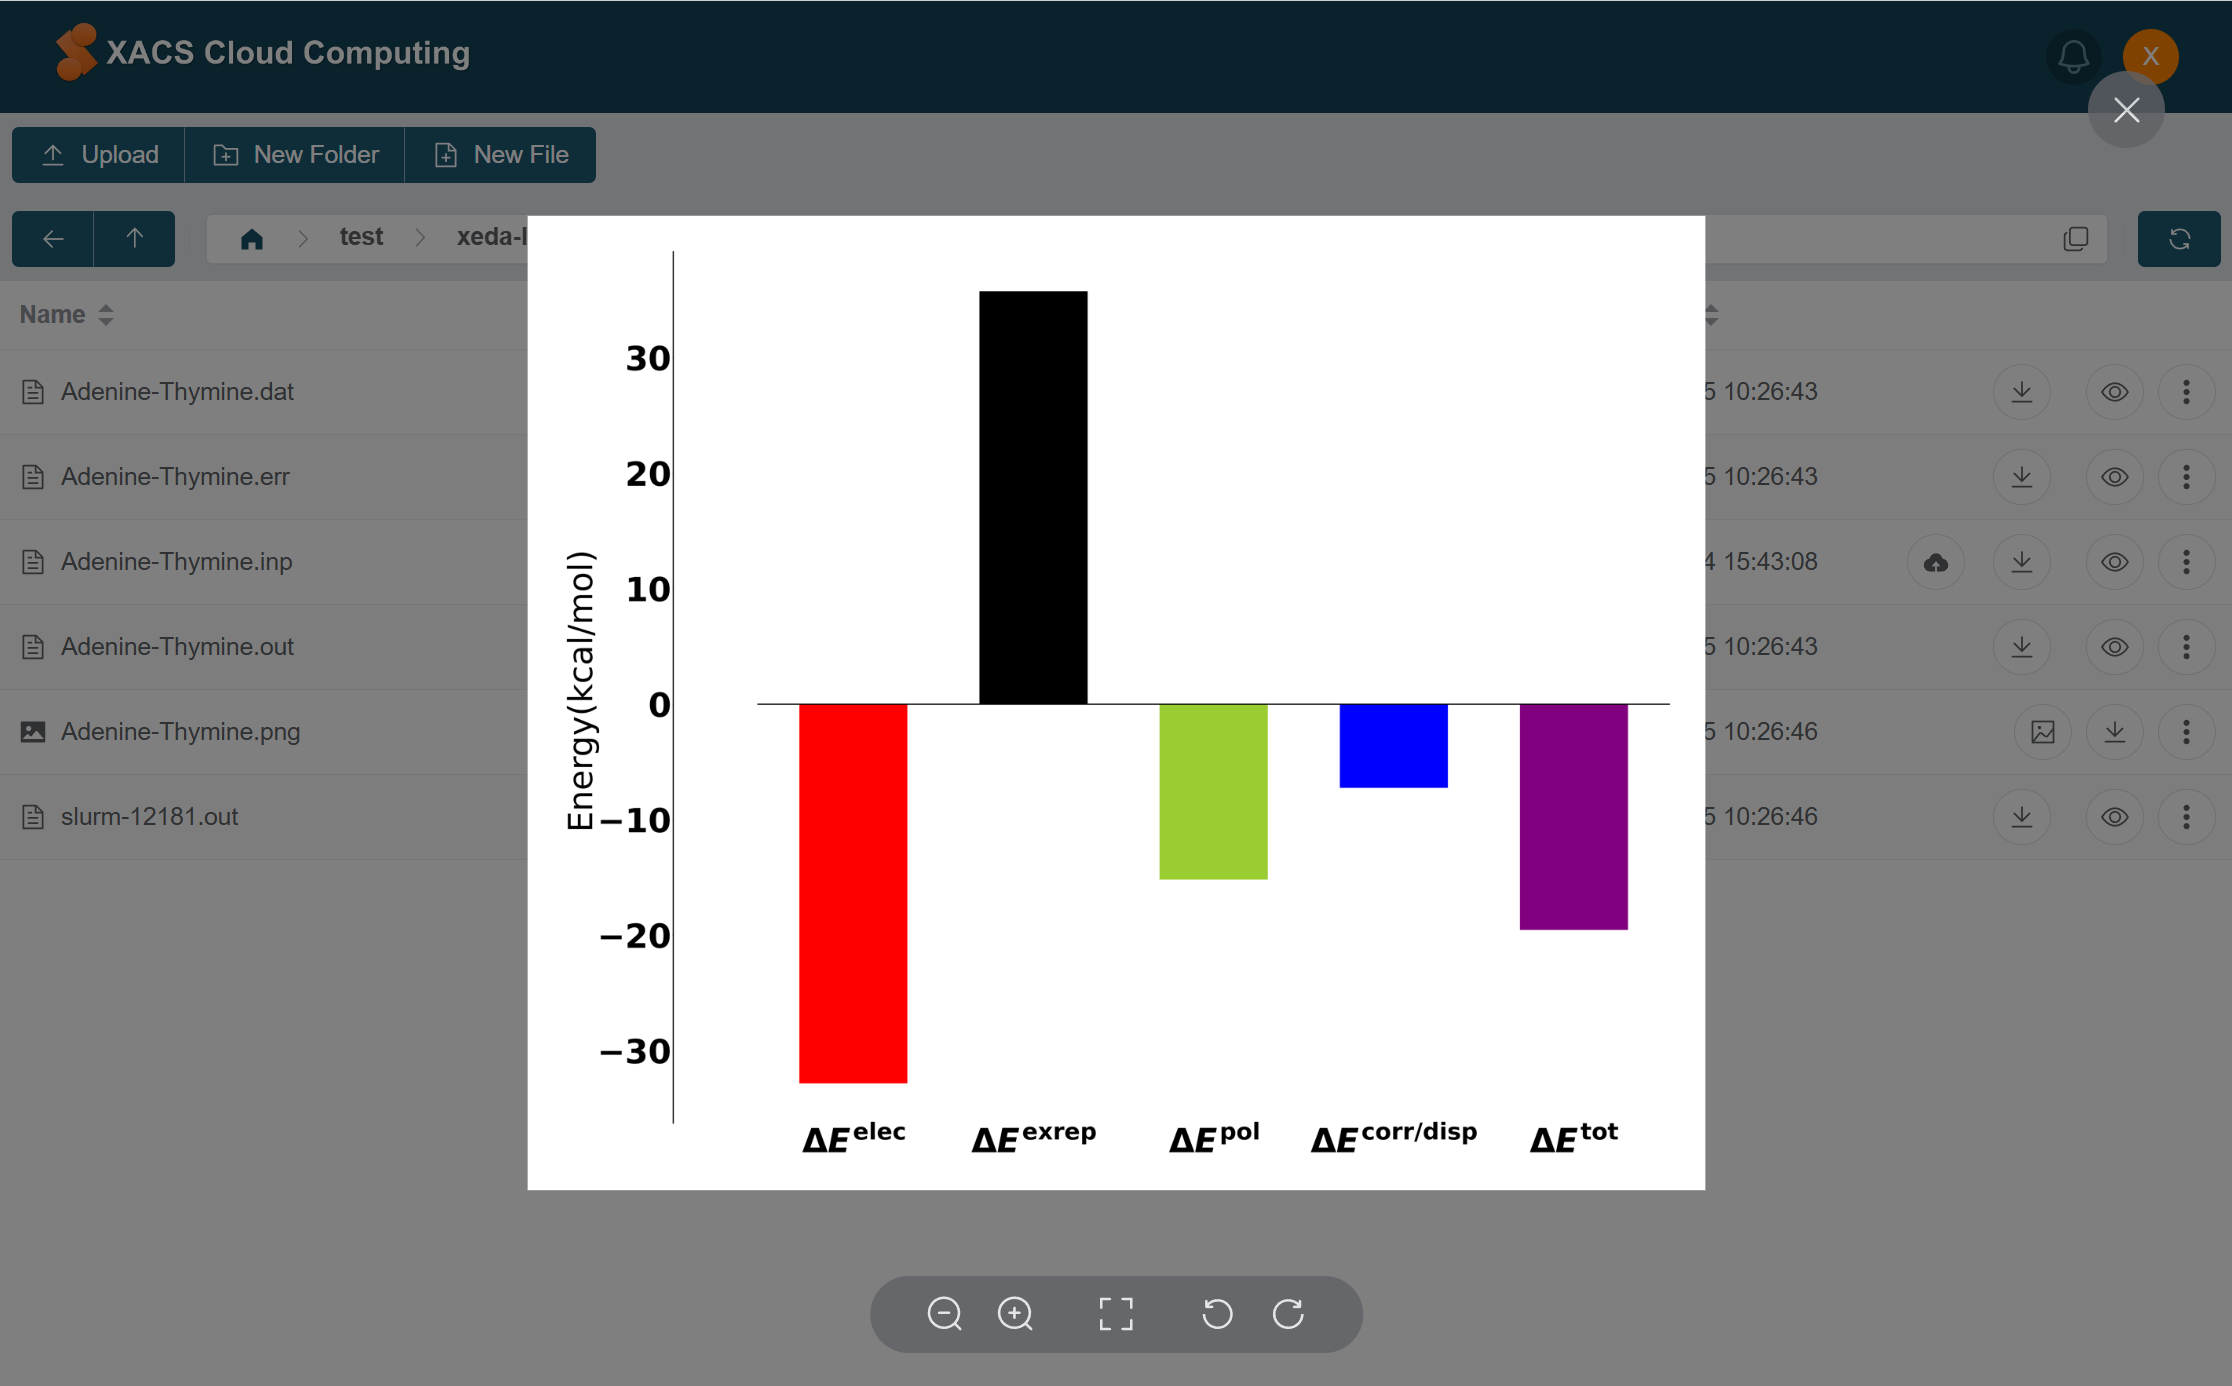
Pictures could be viewed on the webpages without downloading by clicking the “view” button. Thus, for XEDA jobs, you could view the visualization of the results directly on the website.

Job Manager
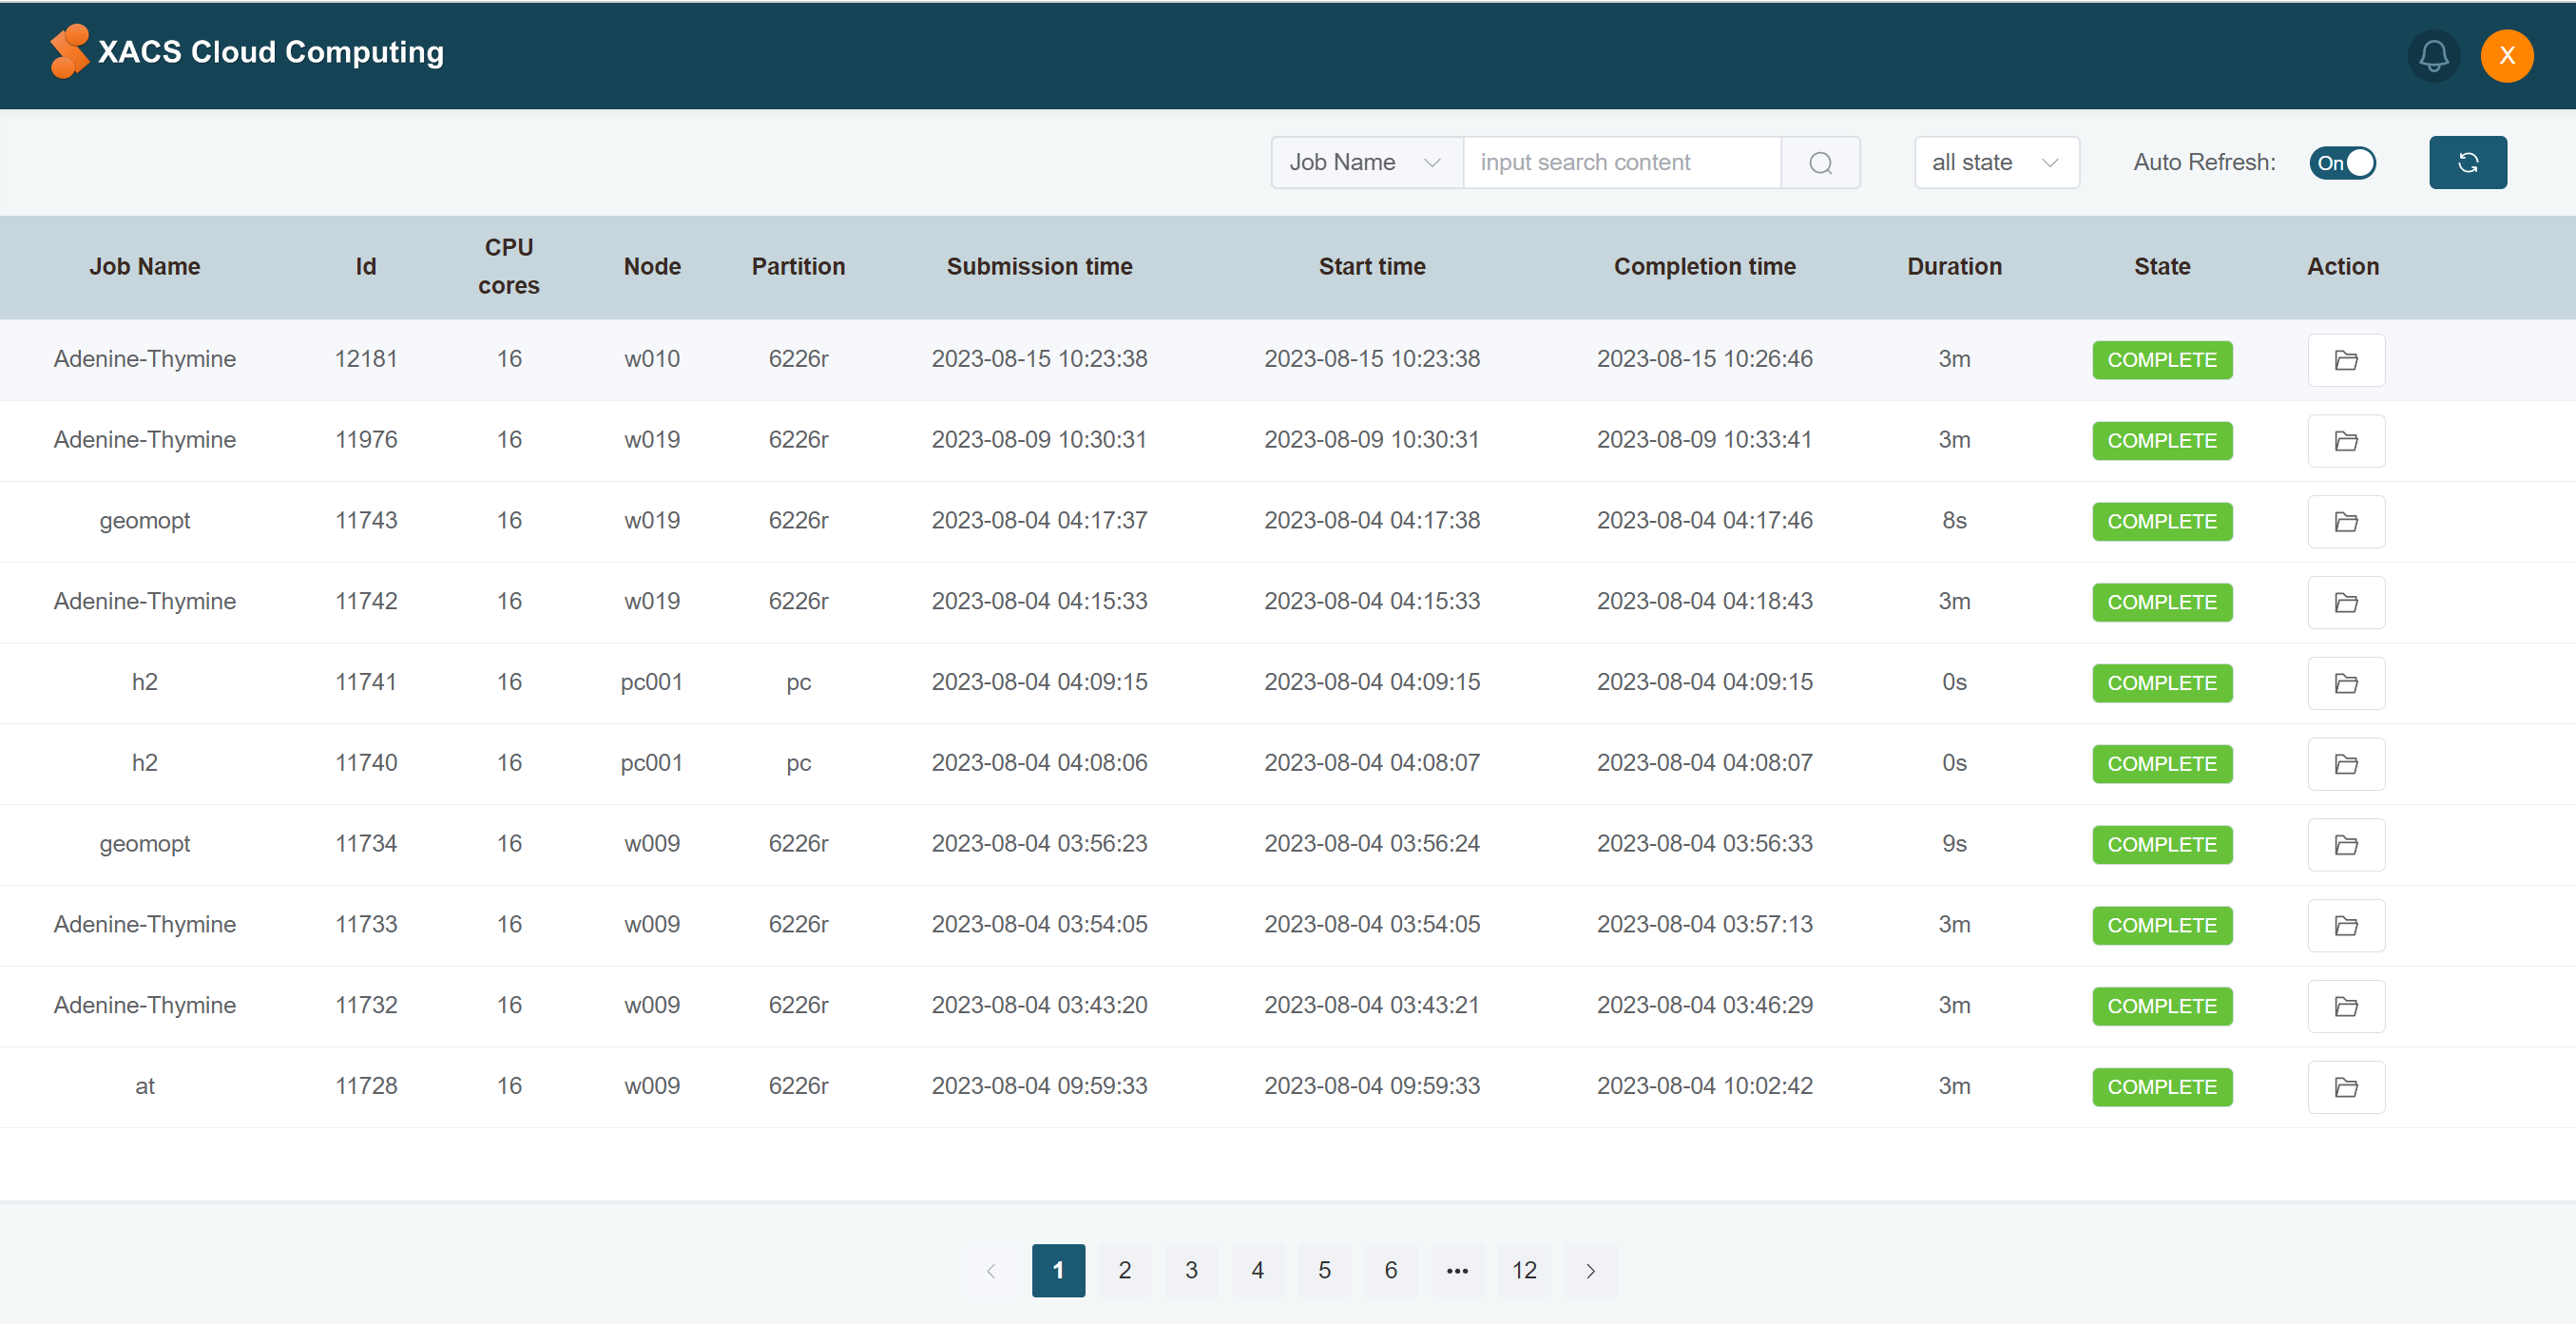
You could view the submitted jobs in the job manager.

The four columns containing time are a bit confusing and need explanation:
The Submission time is the time the job submitted. The job may not start immediately and will be waiting in the queue if the computing resource is not satisfied.
The Start time is the time the job started running.
The Completion time is the time the job completed.
The Duration is the elapsed time the job ran.
Job actions
In addition to viewing job status, you can also perform a series of operations to the jobs. For running jobs, you could check the output when the job is still running. You could also terminate the job. For the completed jobs, you could jump to the directory where the job is submitted and check the final results of the job.